When it comes to enhancing the comfort, privacy, and energy efficiency of your vehicle or building, ceramic tint for windows is an excellent choice. As a leading ceramic tint supplier, I'm here to guide you through the installation process. This blog post will walk you through each step, ensuring you have a clear understanding of what to expect when you choose our high - quality ceramic tint products.
Step 1: Preparation
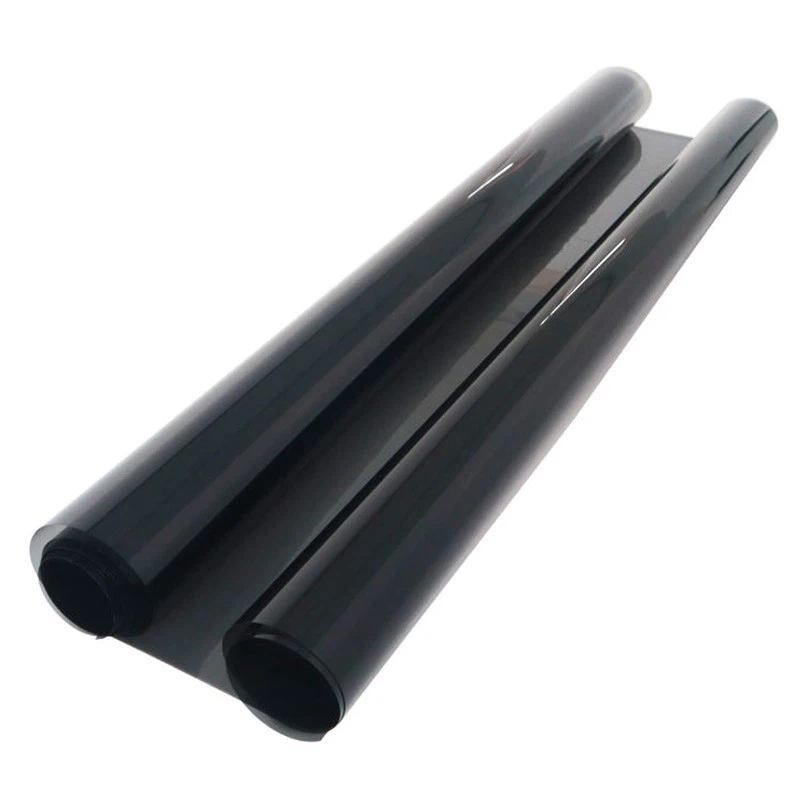
Before starting the installation, it's crucial to gather all the necessary tools and materials. You'll need a sharp utility knife, a spray bottle filled with a soapy water solution (a mixture of water and a small amount of dish soap works well), a squeegee, a heat gun (optional but useful for shaping the tint around curves), and of course, our top - notch ceramic tint film.
First, thoroughly clean the windows. Use a glass cleaner and a lint - free cloth to remove any dirt, dust, fingerprints, or grease. A clean surface is essential for the tint to adhere properly. Make sure to clean both the inside and outside of the window. After cleaning, dry the window completely to prevent any water spots from forming under the tint.
Step 2: Measuring and Cutting the Tint
Measure the dimensions of the window accurately. It's better to measure a few times to ensure precision. Add a little extra margin (about 1 - 2 inches) around the edges of the measured area. This extra margin will allow for any adjustments during the installation process.
Once you have the measurements, carefully cut the ceramic tint film using the utility knife. Place the film on a clean, flat surface and use a straight edge to guide your cuts. Make sure the cuts are straight and clean. If you're tinting a curved window, you may need to use a heat gun to gently warm the film and make it more flexible for shaping.
Step 3: Applying the Soapy Water Solution
Spray the soapy water solution generously on the inside of the window. The soapy water acts as a lubricant, allowing you to move the tint film around on the window surface without it sticking immediately. It also helps to remove any air bubbles that may form during the installation.
Next, carefully peel the backing paper off the ceramic tint film. Be careful not to touch the adhesive side of the film with your fingers, as this can leave fingerprints and affect the adhesion. Once the backing paper is removed, spray the adhesive side of the film with the soapy water solution as well.
Step 4: Positioning the Tint on the Window
Slowly place the tint film on the wet window surface, starting from the top. Align the film with the edges of the window, making sure it is centered and straight. You can use the squeegee to gently smooth out the film and remove any excess water and air bubbles. Start from the center of the film and work your way towards the edges, pushing the water and air bubbles out.
If you encounter any stubborn air bubbles, you can use a pin to prick them and then use the squeegee to push the air out. For curved windows, use the heat gun to warm the film slightly and then use the squeegee to conform the film to the curve of the window.
Step 5: Trimming the Excess Tint
Once the tint is properly positioned and all the air bubbles are removed, use the utility knife to trim the excess tint around the edges of the window. Make sure to cut as close to the window edge as possible for a clean and professional look.
Step 6: Final Inspection and Drying
After trimming, give the window a final inspection. Check for any remaining air bubbles, wrinkles, or uneven edges. If you find any issues, you can use the squeegee or the heat gun to correct them.
Allow the tint to dry completely. This usually takes a few days, depending on the temperature and humidity. During this time, avoid rolling down the windows in a vehicle or opening the windows in a building to prevent the tint from peeling or lifting.
Advantages of Our Ceramic Tint
Our ceramic tint offers numerous benefits. It provides excellent UV protection, blocking up to 99% of harmful UV rays. This not only protects your skin and the interior of your vehicle or building from sun damage but also helps to prevent fading of upholstery, carpets, and other materials.
In addition, our ceramic tint is highly effective at reducing heat transfer. It can significantly lower the temperature inside your vehicle or building, reducing the need for air conditioning and saving energy. This not only makes your space more comfortable but also helps to reduce your energy bills.
Moreover, our ceramic tint provides privacy. It makes it difficult for people outside to see inside, while still allowing you to have a clear view from the inside. This is especially useful for vehicles and buildings where privacy is a concern.
Why Choose Our Products
As a trusted ceramic tint supplier, we are committed to providing high - quality products. Our ceramic tint is made from the latest technology and high - grade materials, ensuring long - lasting performance and durability. We offer a wide range of tint shades to meet your specific needs and preferences.
We also provide excellent customer service. Our team of experts is always ready to answer your questions and provide you with professional advice on the installation process. Whether you're a professional installer or a DIY enthusiast, we can help you achieve the best results.
Call to Action
If you're interested in purchasing our ceramic tint products, you can visit our website to learn more about our Car Window Tint OEM/ODM, Car Window Tint, and Car Tint. We welcome you to contact us for a detailed product consultation and to discuss your specific requirements. We look forward to working with you to enhance the comfort, privacy, and energy efficiency of your vehicle or building.

References
- "Automotive Window Tint Installation Guide" - Industry standard installation manual
- "Benefits of Ceramic Window Tint" - Research papers on window tint technology and its advantages